To assist growers, we are sharing our “Topside Insulation Repair.” This repair seals up leaky drop ceilings from the top side of the insulation while improving the existing insulation’s thermal performance.
The US DOE has done many studies on Radiant Barriers and has shown a 50% reduction of heat transfer during the summer months in building envelopes when incorporating Radiant Barriers. We’ve done our own study on winter months with actual poultry farms and we have found a suitable, economical solution to repair old, tired, collapsed insulation in poultry houses. The data we collected are from Pilgrim’s Pride and Tyson growers.
The winter reports we are getting are showing a savings of 20% to 30% on propane.
The “Easy and Inexpensive Topside Insulation Repair” method is very inexpensive, costs around $3,400.00 worth of material and takes three men twelve hours to install on an average 20,000 sqft. poultry house.
The farmer just rolls out our radiant barrier on top of the existing insulation in between the trusses. Since our material is 48” wide, it fits nicely in between the trusses.
This install method is an easy do-it-yourself system, or your grower can use one of our experienced installers.
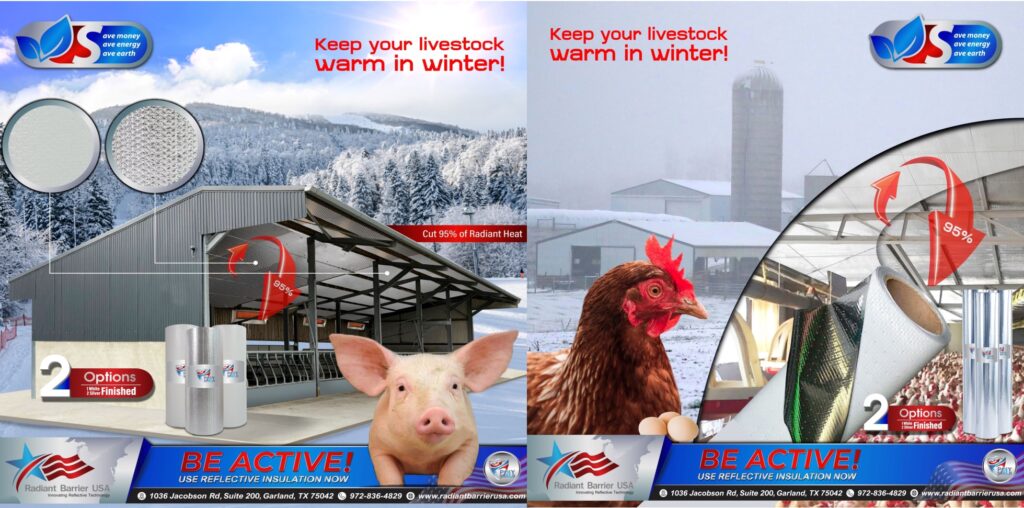
Recommended Products: AgriBarrier Perforated Radiant Barrier.
Materials Needed: Utility knife, flashlight, scissors, and tape measure. Protective Headgear is recommended: Roofing nails often protrude through the roof decking creating a potential hazard.
Please read and follow all the steps below to insure proper installation.
General Instructions: Radiant Barrier is to be laid on top of existing insulation, like a blanket, from wall plate to wall plate, end to end, so that the entire attic floor is covered with Radiant Barrier.
*It is extremely important you only use Perforated Radiant Barrier in this type of application.
- Check all visible wiring for frayed, cracked or missing wire insulation before beginning. Repair all such defects. Exposed “live” wires can cause injury to installers when they contact them with the aluminum radiant barrier. Contact an electrician for safe correction of electrical problems.
- Check for moisture problems, (condensation or water spots on the underside of roof, wet insulation, bath or kitchen vents, etc.) and correct.
- Determine the level of existing insulation. If you have areas that your insulation has settled to the point that you have bare spots on top of the Tri-ply, add insulation to those areas. Both the level of existing insulation and the radiant barrier may be considered when determining compliance with International Energy Conservation Code or other building codes. For example, for Atlanta, GA, a radiant barrier added to an existing R 19 insulation will meet the R 30 IECC requirement.
- Measure area to be covered to determine amount of radiant barrier needed. Be sure to measure from the outside edge of the wall plates.
- Determine the length of the pieces to be cut. Measure and cut, allowing an extra 2” at both ends. Always install the first piece before cutting the rest to make sure of your measurements.
- There are two install methods of laying Radiant Barrier on top of the existing insulation like a blanket for a Poultry House. Use example # 3 from figure 1 from top left picture.
- If the Animal Confinement House does not have a leaky drop ceiling, lay Radiant Barrier on top of the existing insulation like a blanket at a right angle to the joists. Extend the Radiant Barrier within 12” of the wall plates. Use a stick, (¼” furring strip would be fine), to push the radiant barrier around. When laying the next piece, overlap the previous piece about 1”. Do not attempt to make Radiant Barrier lie smooth or flat. The more wrinkled it is, the better it works. Do NOT tape seams.
- If you are attempting to seal up the barn’s drop ceiling from the top side of the insulation, run our two-sided tape on top of the trusses and attach the Radiant Barrier on top of the trusses and staple every foot or two. The tape will harden and create a sealed environment over the insulation. Be sure to clean dust or condensation from the top of the trusses before taping. Lay Radiant Barrier on top of the existing insulation like a blanket at same direction the joists. When sealing up the ceiling extend the Radiant Barrier to the wall plate.
- Cut around exhaust fans and any other appliance that produces heat and protrudes through the attic floor. Mark any electrical junction boxes that are covered by the Radiant Barrier. Lay Radiant barrier loosely over heating and air conditioning ducts. Provide at least 1” airspace between the Radiant Barrier and the duct spacers.
- Special Notes: 1. If, after installation, the Radiant Barrier is torn, repair is made simple and complete with aluminum foil tape. 2. Condensation should be a concern whenever adding any type of insulation to the attic area. The general rule is that additional ventilation should always be considered. Neither insulation nor Perforated Radiant Barriers cause condensation. Always investigate potential moisture problems prior to installation of any insulation. 3. For additional safety recommendations regarding installation, see ASTM C1158.
Relax and enjoy the comfortable temperatures in your Animal Confinement House and look forward to those lower energy bills!
For more information please contact us at: 972-836-4829.
Im obliged for the blog post.Really thank you! Great.